Coconut milk
Rich creamy flavor, low production costs, made of two ingredients only, antibacterial and anti-inflamatory effects, contains healthy fats that increase the amount of good HDL cholesterol, improves digestion, and many more healthy impacts can give you my beloved coconut milk.
When I made my first home-made coconut milk, I realized that I don’t want store bought coconut milk anymore. I didn’t like the strange taste in the canned coconut milk. Intensity of that strange flavor depends on the brand, but you cannot feel that USF (unidentified strange flavour) in the homemade milk. So, once in a while I take a hammer and a screwdriver to open the coconuts.
The most annoying part of making home made coconut milk is to open the nut and peel it. Should you have special equipment for opening and cleaning, or your own opening technique, do it your own way. You can also share with us your tips and tricks. Bit of effort with opening and cleaning, will be rewarded by your own fresh coconut milk.
When buying coconut, be careful and buy heavy and full ones. It should sound like there is water inside when you shake it. The more water, the fresher coconut it is. If you cannot hear anything, don’t buy it.
I use coconut milk to prepare milk rice, curry chicken with lemon grass, and shrimp-coconut soup. You can try to substitute normal milk with the coconut milk while preparing fruit milkshakes or smoothies. Sip the coconut milk drink and enjoy the sun, ocean, peace, coconuts… like in Caribic, Asia or South America. 🙂
Ingredients (app. 1.5 liter of milk)
Preparation time: 20 minutes (opening and peeling off) + 15 minutes
- 2 brown coconuts
- 6 cups of hot water (1 cup 250 ml)
Instructions
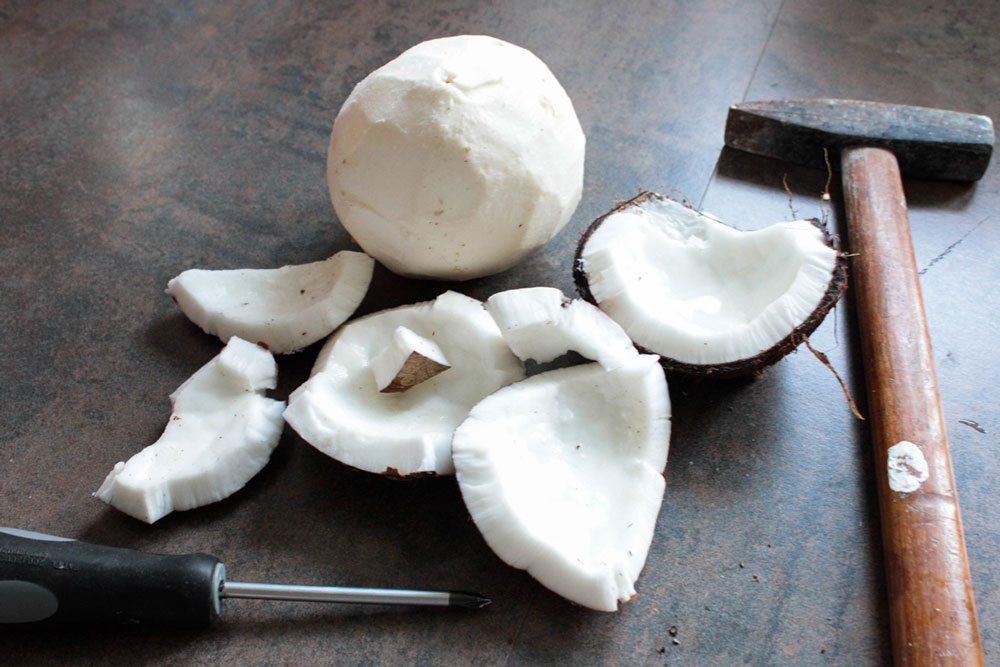
Screwdriver and hammer are my essential instruments for opening the coconuts :). I usually start with making three small holes in the coconut with screwdriver and hammer. Drain and strain the coconut juice into cup. You can drink the juice or use it for coconut milk.
Hold the coconut in the palm of your hand and take the hammer in the other hand. Tap around coconut’s center and rotate the coconut in the palm of your hand. Be careful as the last hit could hurt your hand. Cover your hand with kitchen towel or place the coconut on hard flat surface (covered with kitchen towel to minimize the mess).
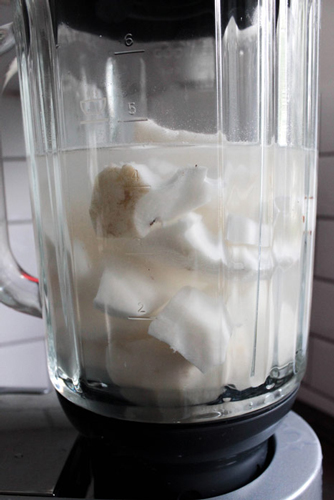
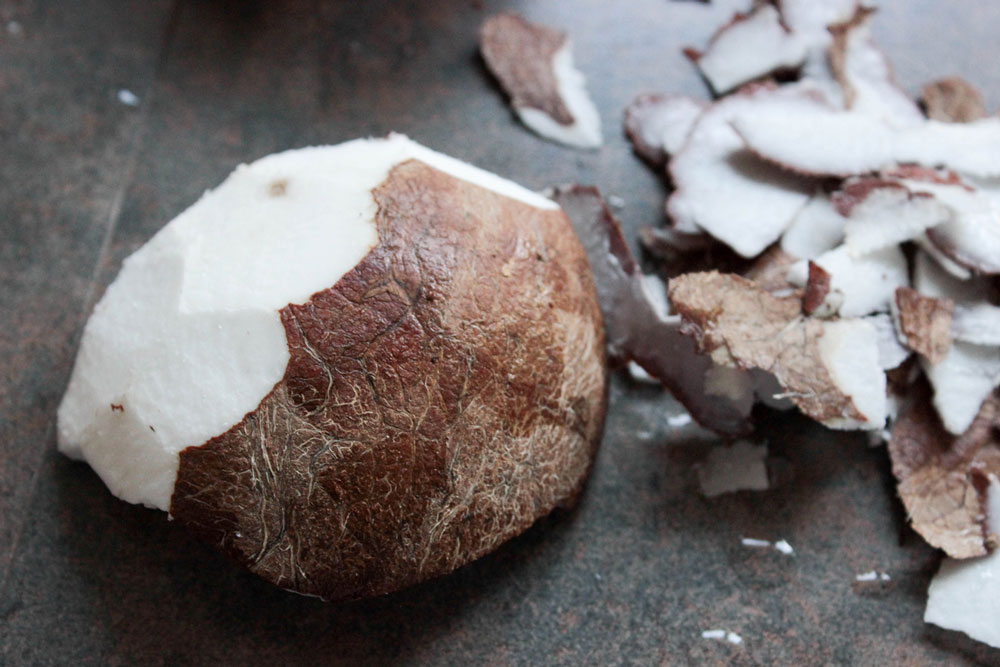
Once the coconut is open, remove the flesh from shells and peel it off. Wash the pieces of flesh.
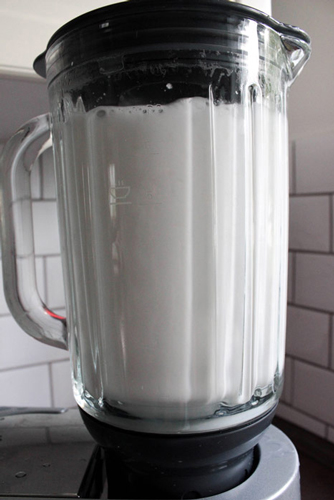
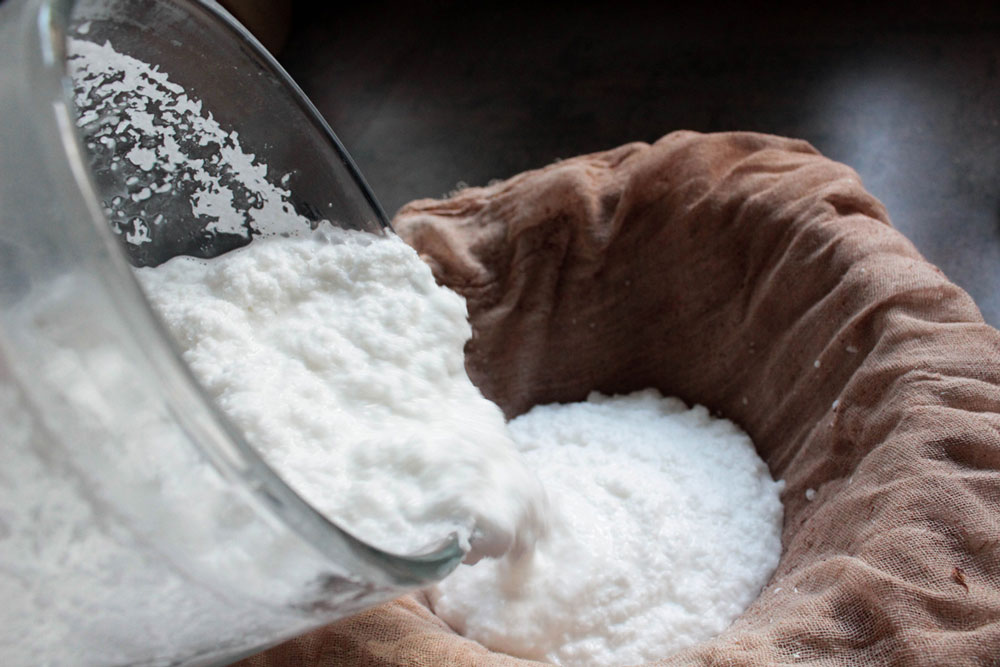
Put the flesh into the blender, add four cups of hot water (if you use only one coconut, add two cups of hot water) and coconut juice, if you still have it. Hot water helps to dissolve fats in coconut meat. Blend on high speed for few minutes until you get creamy milky mixture. Turn off the blender. Line a strainer with cheesecloth and pour the coconut mixture through the cheesecloth into a bowl.
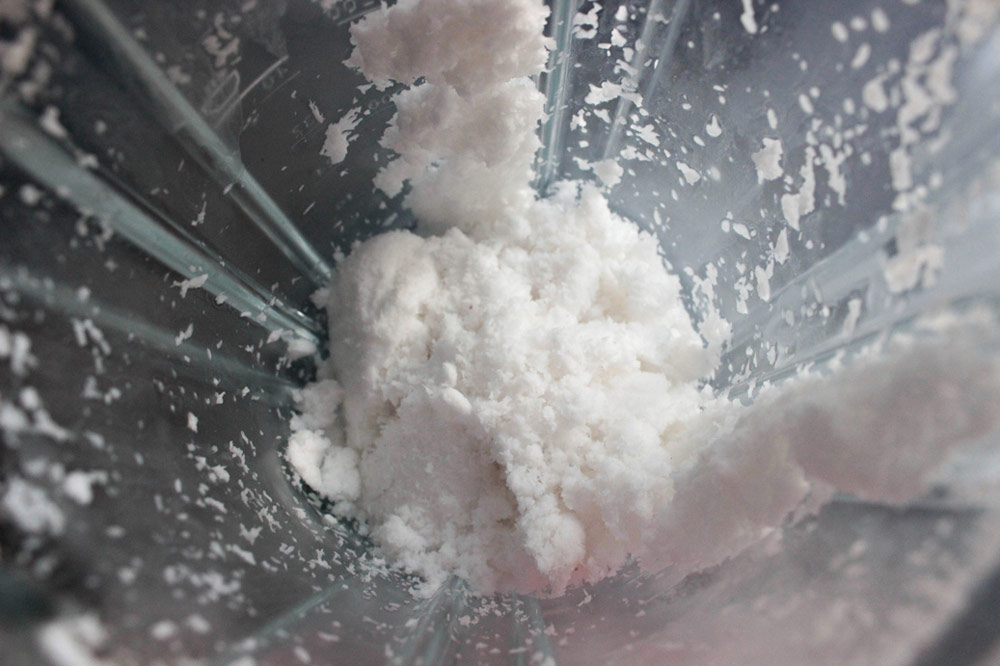
Squeeze out the coconut milk as much as possible. Put the coconut pulp back in the blender, add two cups of hot water and blend again. If there is problem with blending, add more water (1/2 to 1 cup of hot water).
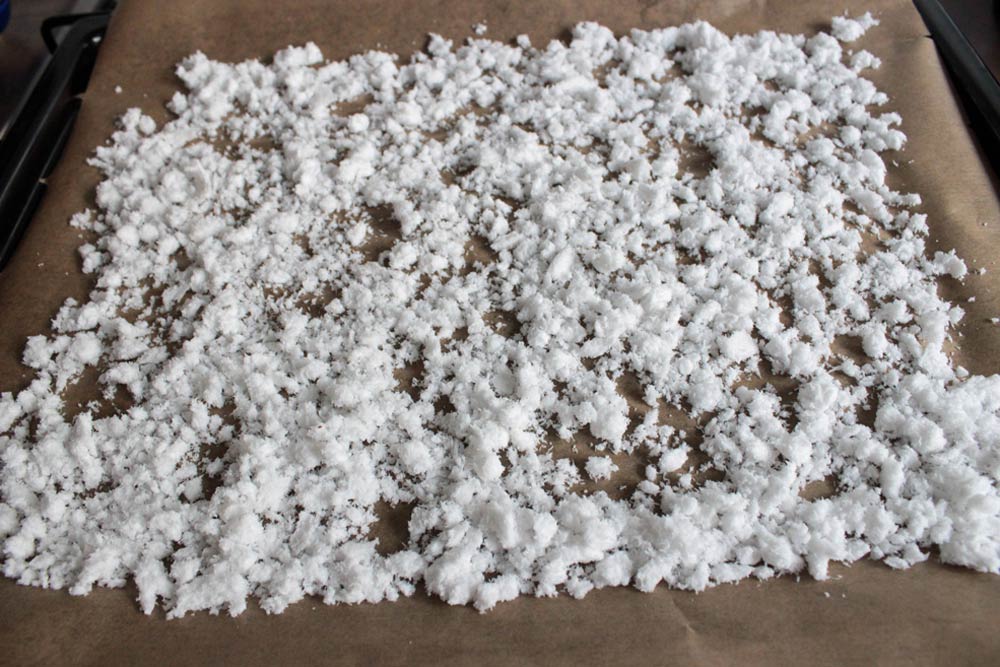
Pour the mixture again through the cheesecloth and squeeze out the milk. Line a baking pan with baking paper and spread the coconut pulp evenly. Let it dry for few hours in the oven over 50-100 °C. Dried flesh is not so aromatic and full of taste, but the whole flavor is in the milk. You can add the dried flesh to muffins, cakes, yogurt or breakfast cereals.
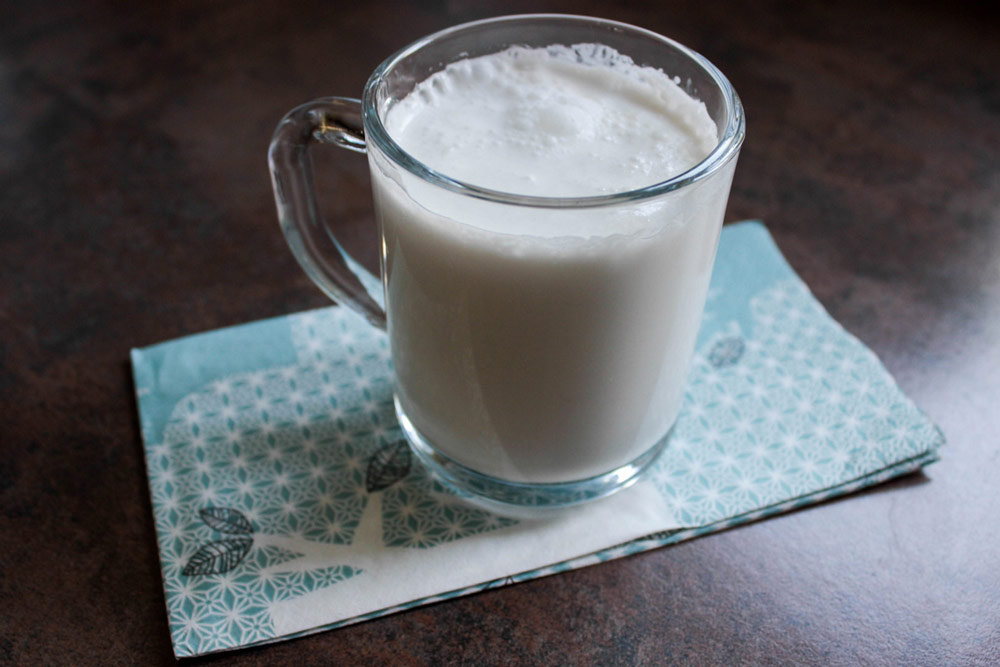
Store the milk in refrigerator up to 4 days. Coconut milk will separate after being refrigerated, which is completely normal. Just give it a good shake or stir before using. “White mass” separated in the coconut milk is the coconut cream, full of healthy fats. If you need coconut cream, you can gently remove it with a spoon.
Tip: If you don’t have time or opportunity to open and clean the coconuts, you can make the coconut milk from dessicated coconut. Pour two cups of hot boiling water over one cup of dessicated coconut and let it sit for while. Blend until the mixture is creamy and smooth. Pour the coconut mixture through the cheesecloth into a bowl and squeeze out the milk.
Enjoy it!